
How to Apply
Sorted before you get to the airport
Five stages, about ten minutes of your time, entirely online. The important one is the first: your flight times decide which transit visa you qualify for, so have your itinerary to hand before you start. Apply as early as you can — a transit visa that arrives after you have left for the airport is no use to anybody.
-
Step 1
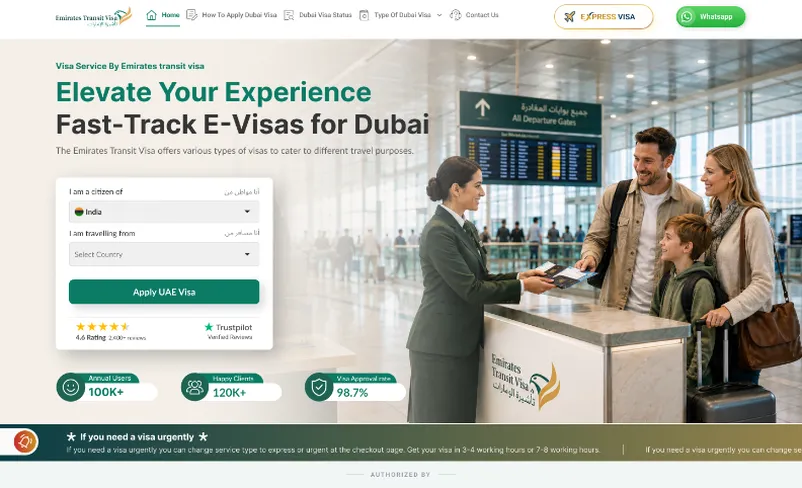
Tell us your passport and where you are applying from
Your nationality decides which permits are open to you; the country you are applying from decides which documents UAE immigration wants to see. Choose both and the site narrows the list to what you actually qualify for — including, where it applies, a note telling you that you do not need a visa at all.
-
Step 2
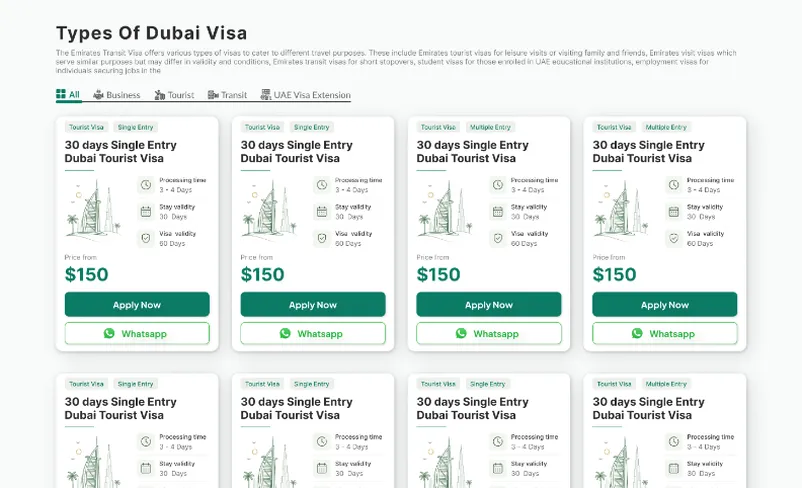
Pick the permit that matches your connection
A 48-hour permit covers a night or a long afternoon; the 96-hour one buys up to four days and costs more. Both need a layover over roughly eight hours and an onward flight continuing to a third country. Staying longer, or not really transiting at all? Then a 30 or 60-day visit visa is the right document — transit permits cannot be extended once issued. Unsure which applies? Send us the itinerary and we will tell you before you pay.
-
Step 3
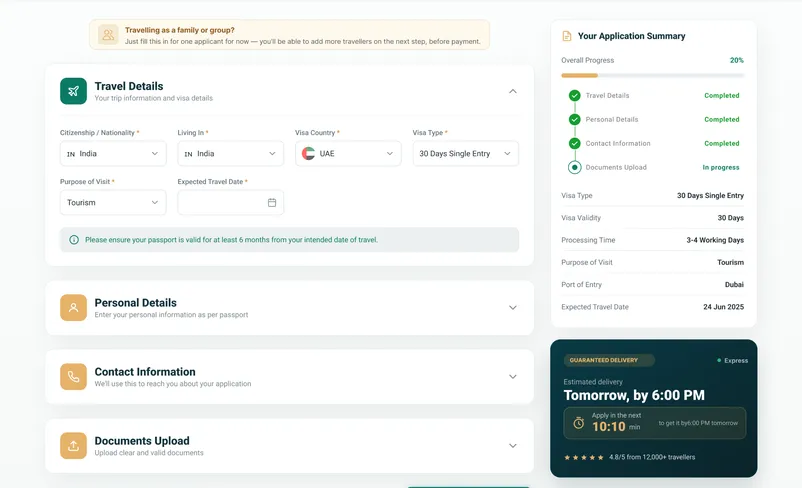
Fill in the form and upload your documents
Names, dates and passport numbers must match your passport exactly — a middle name typed into the wrong box is the commonest reason an application comes back. For a transit visa you will also need your onward ticket and, usually, confirmed accommodation. Photograph the passport page flat in daylight rather than scanning it badly, and check no corner is cut off.
-
Step 4
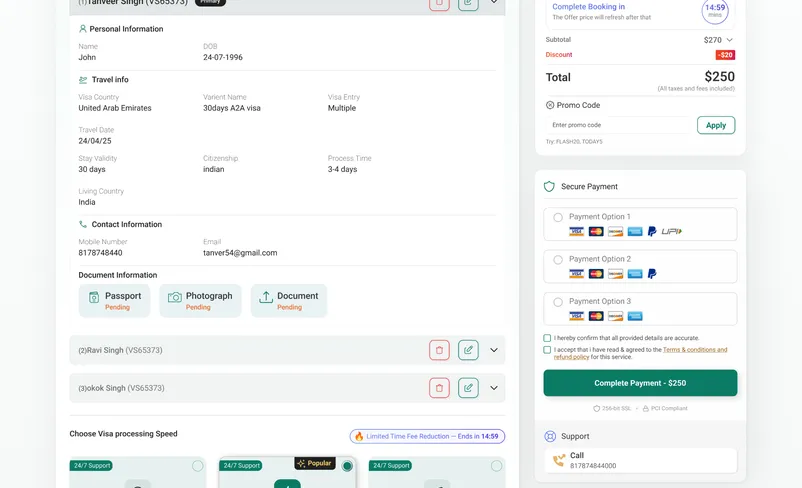
Pay once, with nothing added later
The total at checkout is the government charge plus our filing fee, in your own currency, shown before you enter a card number — no airline service charge stacked on at the end. Payment runs over an encrypted gateway and we never see your full card details. If the method you want is unavailable in your country, message us and we will send a secure payment link rather than leave you stuck.
-
Step 5
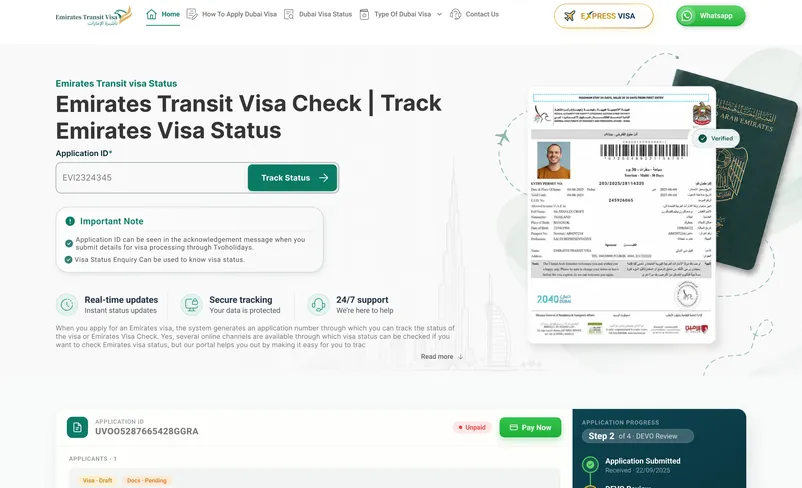
Track it, then download before you fly
From submission onward you can see the stage your file has reached, and if something needs correcting we email you and say what. Once issued, your visa arrives by email and stays downloadable from the Emirates Visa Status page just by entering your application id and passport number.